What is NFC Door Reminder ?!
NFC:
Have you ever wondered what makes tap-and-go services like Apple pay, Android pay work? As much as it seems like pure magic, it isn’t.
So what is it exactly? Simply put, it’s a method of wireless data transfer called NFC (Near field communication) that detects and then enables technology in close proximity to communicate without the need for an internet connection. It’s easy, fast and works automagically.
How does the NFC work ?!
The tech involved is deceptively simple: evolved from radio frequency identification (RFID) tech, an NFC chip operates as one part of a wireless link. Once it’s activated by another chip, small amounts of data between the two devices can be transferred when held a few centimeters from each other.
No pairing code is necessary to link up and because it uses chips that run on very low amounts of power (or passively, using even less), it’s much more power-efficient than other wireless communication types.
At its core, NFC works to identify us by our enabled cards and devices (and by extension, our bank accounts and other personal info.)
Our Project :
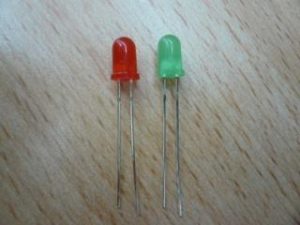
In our project we have used the NFC Technology to control a specific order. this order is opening a door and we apply this order by touching the card to the RFID chip put on the wall. in addition to this, when using the right card to open the door a green light we used turns on and when using a wrong card, a red light turns on to indicate that this is not the right card. there is also a sound notifier to alert the user either he is using the right card or the wrong one. we used a specific code to program the ARDUINO. this code that we used can to:1_ modify the opening angle of the door which means that we can modify it to open the door in a 90 degree angle or 120 degree angle. 2_ modify the duration that the door will open and this means that we can choose either to let the door opened for 2 seconds or half an hour.
components used in the project:
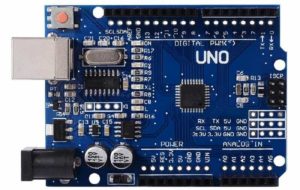
1_ Arduino
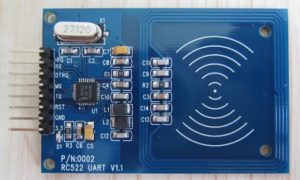
2_ RFID
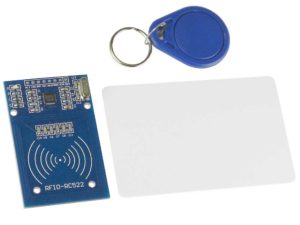
3_ NFC Tags
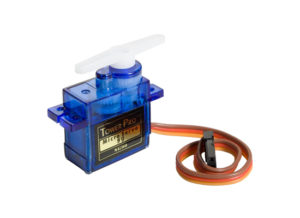
4_ SERVO MOTOR
5_ 2 LEDS
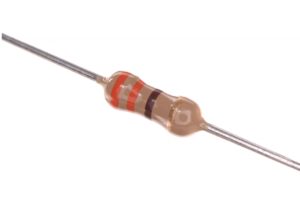
6_ RESISTOR 330 ohm
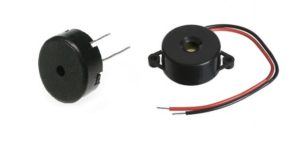
7_ Buzzer
The connections :
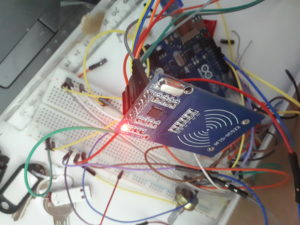
_after bringing all the components we connected all of them by the wires to the breadboard. after that we have written the code that operates all the system on the arduino and launched the first experiment before binning the all the components to their final place.
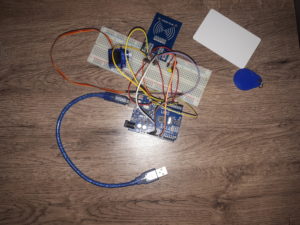
the shape of the project in the first experiment
_ after the success of the first experiment, we joined all the components with solder and wires and put it all in the main frame.
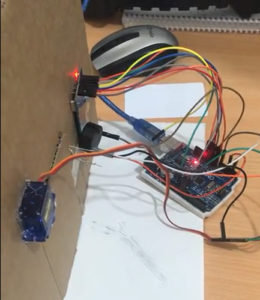
the final shape of the project after joining everything together
THE CODE :
#include <SPI.h>
#include <MFRC522.h>
#include <Servo.h>
Servo myservo ;
int pos =0;
#define SS_PIN 10
#define RST_PIN 8
MFRC522 mfrc522(SS_PIN, RST_PIN); // Create MFRC522 instance.
byte card_ID[4];
byte First_card_ID[4]={0xB0,0x5E,0x3A,0x52};
byte First_card_ID1[4]={0x66,0x5,0xF9,0x75};
//byte First_card_ID2[4]={0xE9,0xF7,0x83,0xCB};
boolean State=false;
int RedLed=2;
int GreenLed=4;
int buz =9;
void setup() {
pinMode(RedLed,OUTPUT);
pinMode(GreenLed ,OUTPUT);
pinMode (buz,OUTPUT);
Serial.begin(9600);
SPI.begin();
mfrc522.PCD_Init();
Serial.println(“Ready to read a PICC Card “);
}
void cmp_id(){
for (byte i = 0; i < mfrc522.uid.size; i++) {
if(card_ID[i]==First_card_ID[i]){
State=true;
}
else if (card_ID[i]==First_card_ID1[i]){
State=true;
}
else{
State=false;
i=5;
}
}
myservo.attach(7);
}
void loop() {
if ( ! mfrc522.PICC_IsNewCardPresent()) {
return;
}
if ( ! mfrc522.PICC_ReadCardSerial()) {
return;
}
Serial.print(“Card UID:”);
for (byte i = 0; i < mfrc522.uid.size; i++) {
card_ID[i]=mfrc522.uid.uidByte[i];
Serial.print(” – “);
Serial.print( card_ID[i],HEX);
Serial.print(” – “);
}
Serial.println();
delay(500);
cmp_id();
if(State==true){ Serial.println(“Accepted, Valid card”);digitalWrite(GreenLed,HIGH); myservo.write(140);delay(250);digitalWrite(buz,HIGH);delay(250);digitalWrite(buz,LOW);delay(250);digitalWrite(buz,HIGH);delay(250);digitalWrite(buz,LOW); }
if(State==false){Serial.println(“denied! unValid card ! “);digitalWrite(RedLed,HIGH) ; digitalWrite(buz,HIGH);delay(700);digitalWrite(buz,LOW); }
delay(1000);
digitalWrite(GreenLed,LOW);digitalWrite(RedLed,LOW);myservo.write(2);
}
